

Customize the load tray layout
Updated today
The Load Tray Layout editor customizes the load tray, the panel that opens under a board row. You choose which information blocks fill the three top columns, which action groups sit in the bottom row, and how wide each group is. Only admins can open it, and the layout you save applies to every board for your company.
Before you start
You need the Admin role to open the editor and to save or reset. The layout is shared, so changes affect every board and every tracker.
Open the editor
Go to Settings.
Open Settings again.
Select Load Tray Layout.
You land on the Load Tray Layout Editor. The page shows the Blocks palette, the three Top columns, the Action row, and a Preview of where each block lands. Boards render the real content in the same spots.
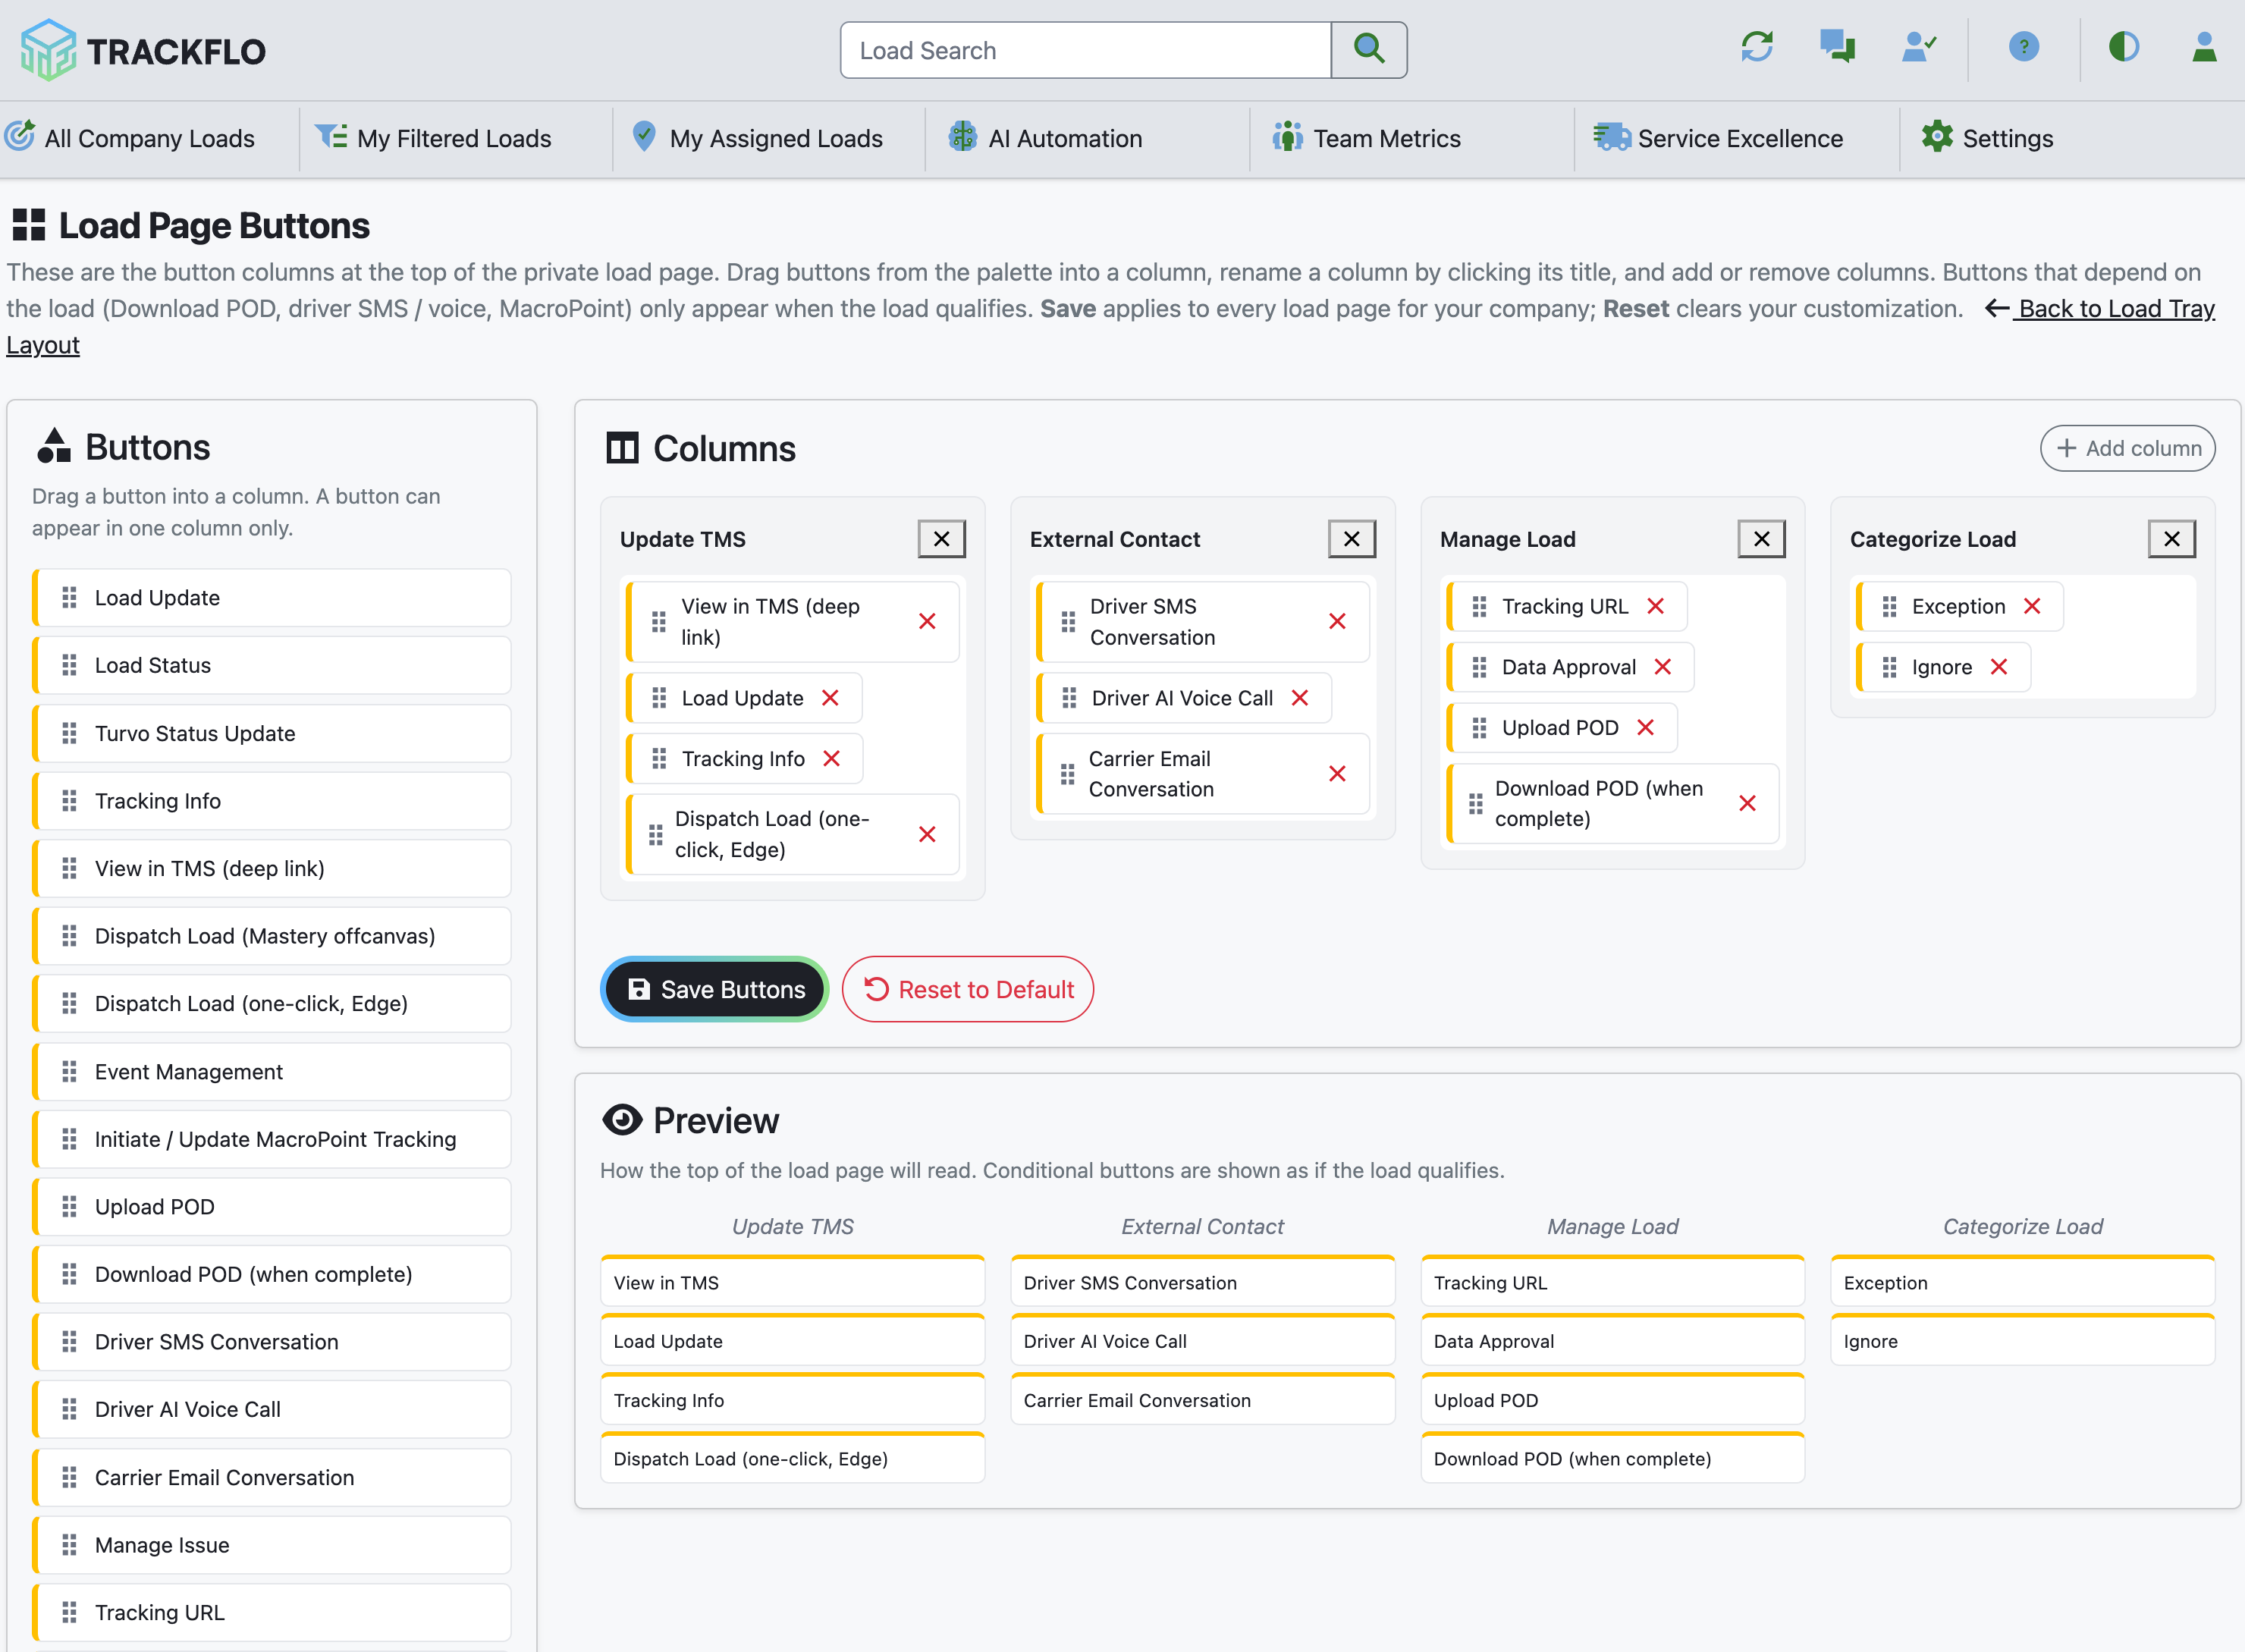
The button columns at the top of the private load page have their own editor. Select Load Page Buttons to open it, or see Customize the load page buttons.
Build the tray
Drag blocks from the Blocks palette. The palette has two sections: Information and Action groups. Information blocks drop only into the three columns, and action groups drop only into the action row. A block can appear more than once.
Drag an information block into Column 1, Column 2, or Column 3.
Drag an action group into the Action row.
To reorder a block, drag it within its column or the action row.
To remove a block, select Remove block on its chip.
Information blocks
The Information section of the palette lists these blocks:
Origin & Destination
Carrier
Driver & Equipment
Customer
Latest Location
Estimated Time of Arrival
Managed Issue
Tracking Status (MacroPoint)
Empty Location
Load Empty Status
Driver WhatsApp
Action groups
The Action groups section lists Issues, Load, Take Action, and Categorize Load. Each group takes a width of 1 to 12 columns, or Auto to share the row evenly, set with the Width (1-12) or Auto control. The action row shows a running total, such as sum 12/12, so you can see how the widths add up.
Set block options
Blocks with configurable settings show an options gear on their chip. Select it to open that block's options. The options cover which buttons show in the block and how the block displays its information:
Origin & Destination — append the pickup reference number to the origin stop info.
Driver & Equipment — show the Add Tracking Info button in this block, and show the freight temperature line.
Customer — show the customer id after the name, and show the customer rep email.
Latest Location — pick the update button: the standard Load Update, or the Turvo combined status update.
Managed Issue — show the Manage Issue button.
Tracking Status (MacroPoint) — show status only, or status plus Initiate / Update MacroPoint buttons. You can also list carrier ids that always get the Update button, separated by commas.
Empty Location — show the Dispatch Load button while the load is Booked.
Load, Take Action, and Categorize Load — choose which buttons the group shows, in order. The Load group also supports a deep link button with your own label and URL template.
For the deep link, enter a Button label and a URL template. In the template, {load_id} is your TMS load number and {load_key} is your TMS internal key, for example https://your-tms.example.com/loads/{load_id}.
Save or reset
When the tray is ready, select Save Layout.
A successful save shows Layout Saved: "Load tray layout updated. Reload a board to see it." Reload a board to see the new tray. To undo your customization, select Reset to Default and confirm. Reset shows Layout Reset: "Reverted to the default load tray."
When it doesn't work
Empty Layout — "Put at least one information block in a column." A layout needs at least one information block before it saves. Action groups alone are not enough.
Save Failed or Reset Failed — "Could not reach the server." A network problem stopped the change from saving. Check your connection and try again.
Related
Customize the load page buttons — the button columns at the top of the private load page